Wednesday, August 31, 2011

Saturday Campaign Update; R3S2- The Constantly Misnamed Session!

I misnamed this campaign update, a few times. In my photo folder, in my photobucket, and almost misnamed it here before I realized what I was doing. Silly me! After last week's surprise of almost nothing getting done, we ended up with almost three matches done. And since I brought my camera, we'll be able to finish next week as well! So on with the show!

Megan (WBR 206) Vs. LAZ (WBR 204)
Skirmish- LAZ Win

1. Who Killed Who:

Orc Shaman spell Zzap OoA pierced Tail
Mohawk OoA orc Boy
Goblin OoA Mohawk
Goblin OoA verminkin with club
Bell Ringer OoA goblin
Verminkin OoA Troll
Orc Shaman spell Zzap OoA Bell Ringer
Verminkin with Spear OoA Big 'Un 2
Club Verminkin OOABig Un 1


2. Injury Results

Megan:
Orc Boy-dead
Goblin- FR
Big 'Un 1-35 Deep Wound miss 2 games
Big Un 2- 31- Blinded in One Eye, -1BS

LAZ:
Pierced Tail- 22 Leg Wound -1 Movement
Mohawk- 41 Full Recovery
Bell Ringer- 31- Blinded in One Eye

3. XP gained:

Megan:
Shaman: 3 (19- 3- skill)
Big Un 1: 1 (25
Big Un 2: 1 (26)
Orc Boy: 1 (7)

LAZ:
Sorceror: 2 (22)
Black Skaven 1: 1 (22)
BLack Skaven 2: 1 (24-10 skill weapons expert)
Mohawk: 2 (8- skill- Tail fighting)
Pierced Tail: 1 (6- 2 skills weapons expert)
Bell Ringer: 2 (12- 4 skill infiltrate)
Verminkin with Clubs 1 (11)
Verminkin with Spears 1 (6)
Verminkin with Swords 1 (2- +1 initative)

4. Exploration results

Megan:
56=11 2 shards


LAZ:
234= 9 2 shards

5. Recruiting
Megan 9 XP pool
exchanges 2 shards for 40
orc henchman with axe

LAZ:
8 XP pool
exchanges 2 shards for 40
35 for 1 set of skaven fighting claws

6. New standings.

Megan: 214
LAZ: 222

Now some pics;

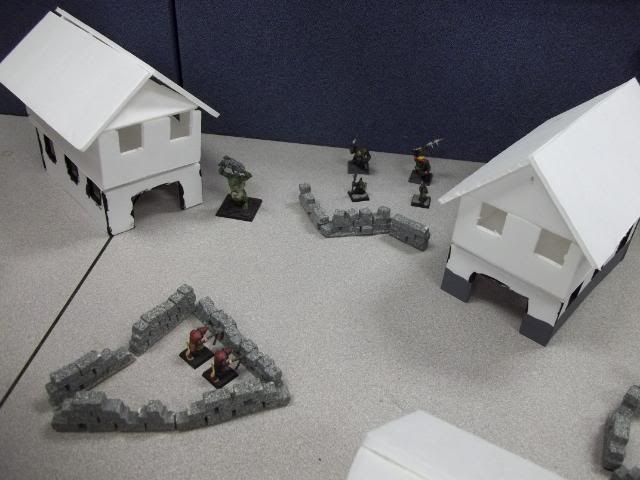
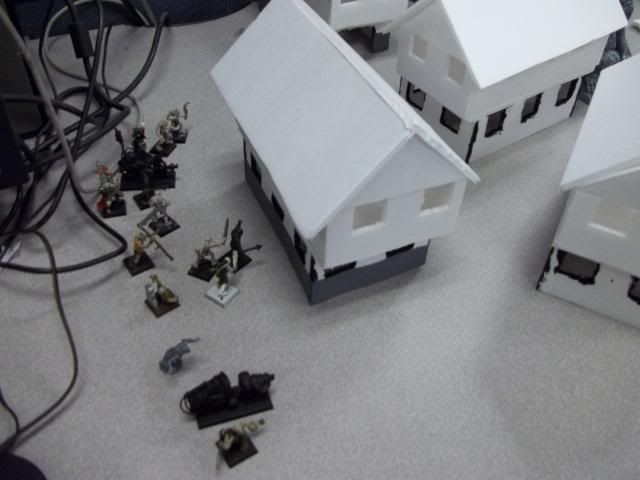
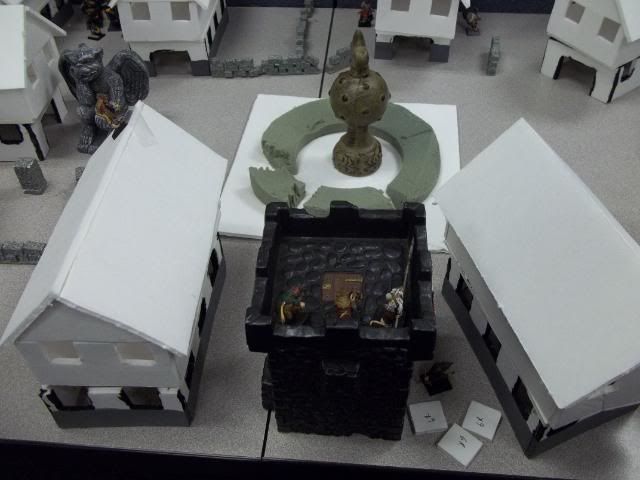
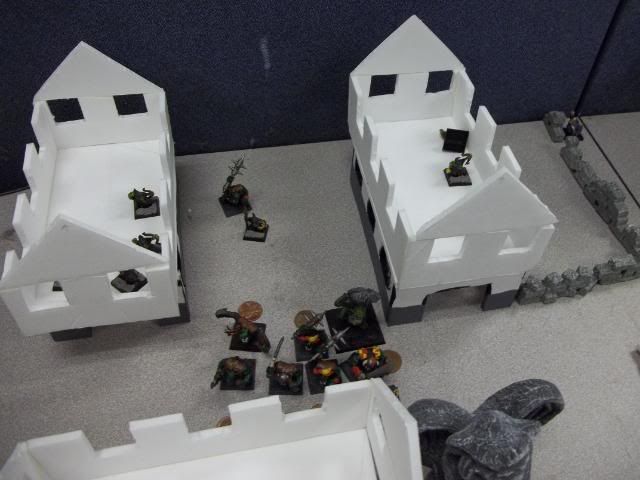
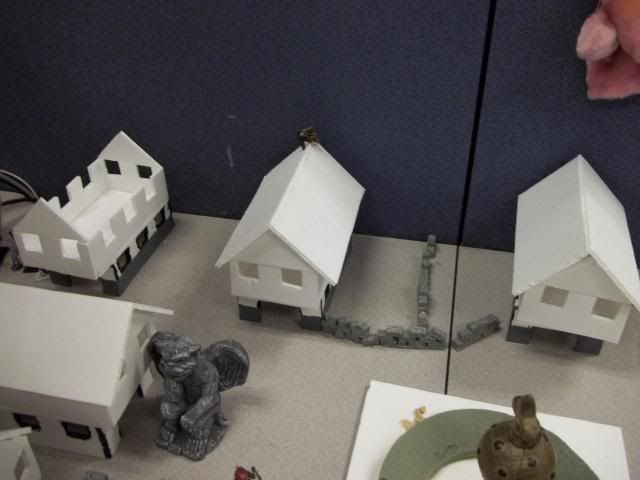
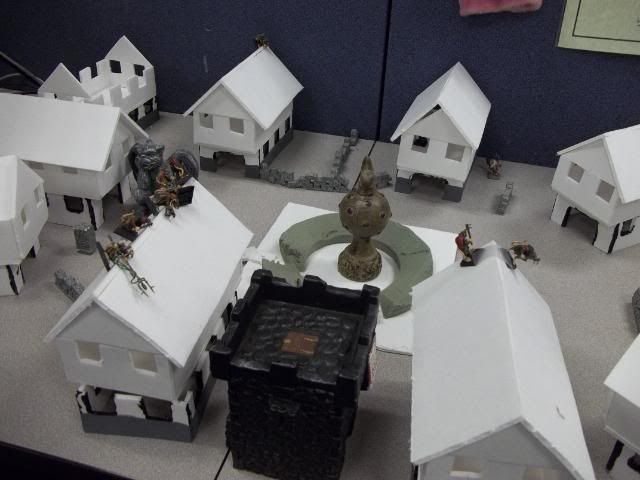
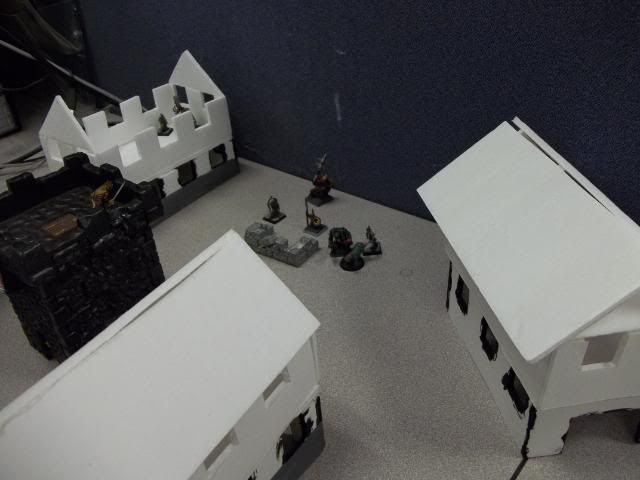
Megan's set up.
Photobucket

And after I placed my infiltrators.
Photobucket

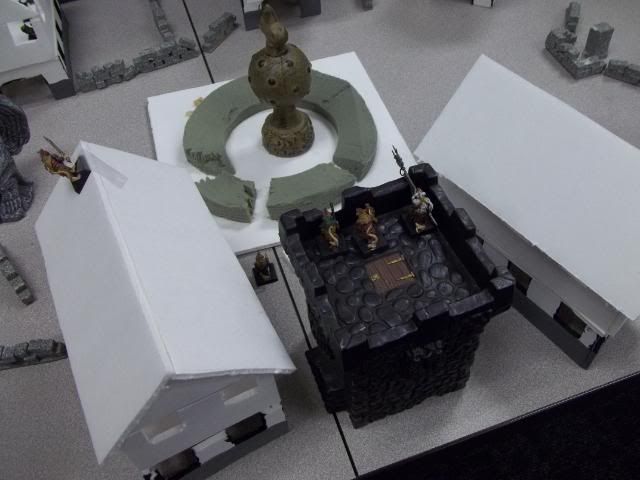
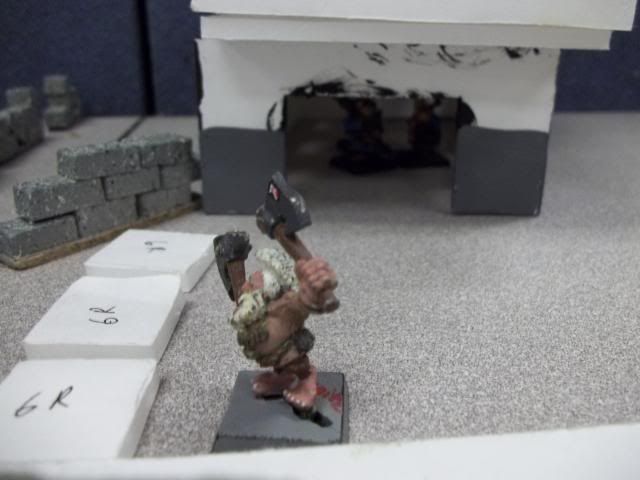
One of my flanks.
Photobucket

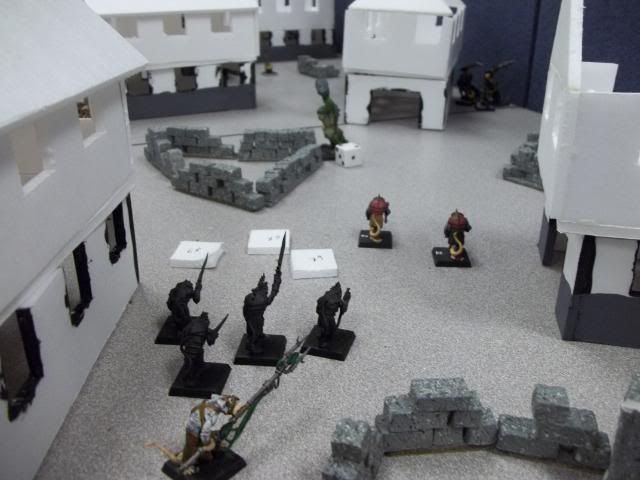
After a few rounds, the troll's stupidity is getting the best of it. With the Orc Chieftain out of the fight, and no one else having the leadership skill, it wandered pretty aimlessly. I was able to get quite a few wounds on it with slings.
Photobucket

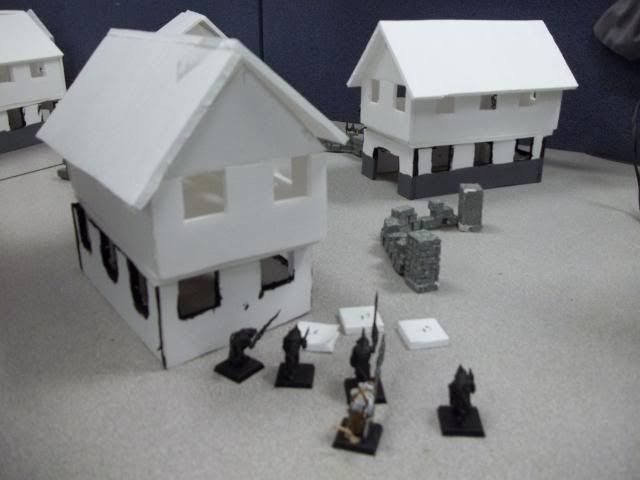
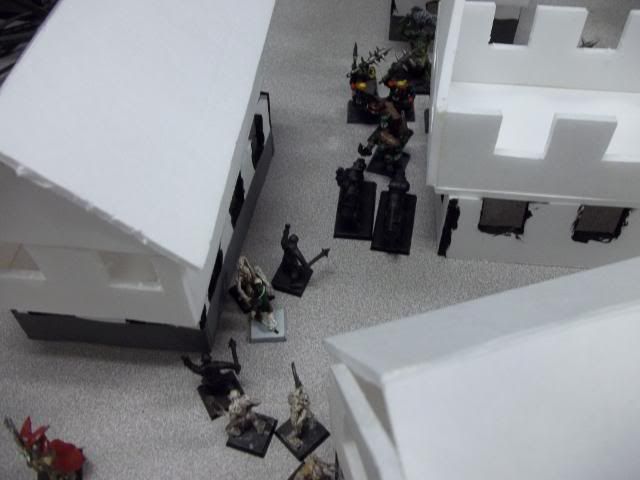
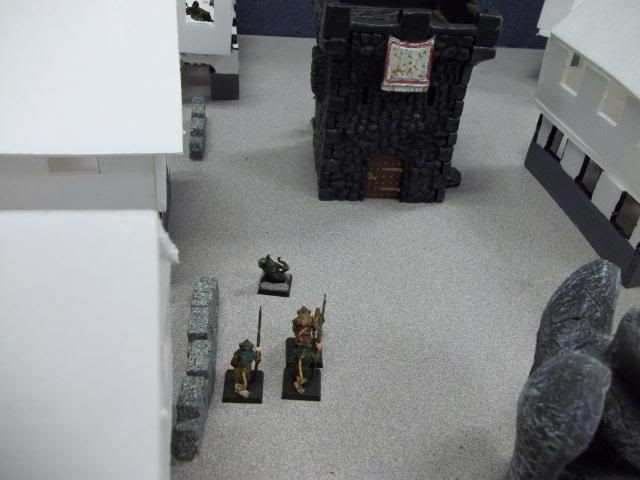
Another flank after slaughtering Megan's flank.
Photobucket

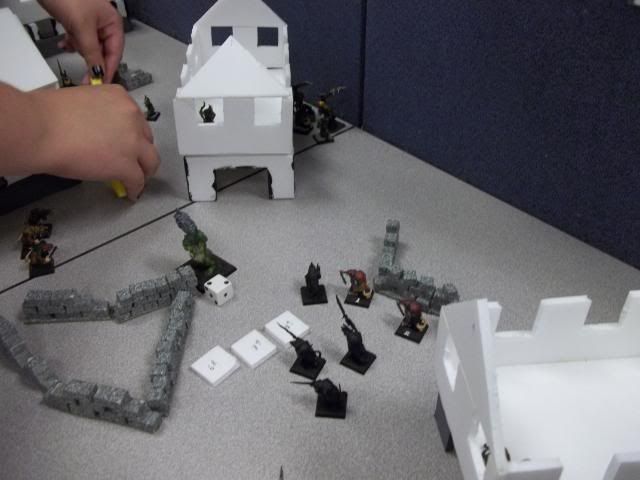
Megan moving some gobbos in to get a bit of vengeance.
Photobucket

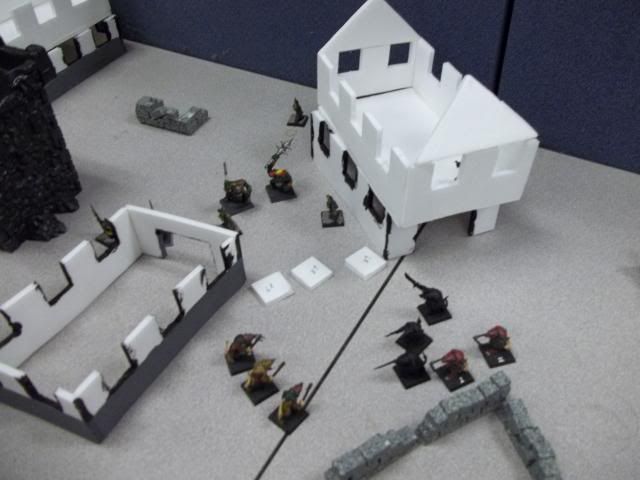
I set up a missile and charge shield.
Photobucket

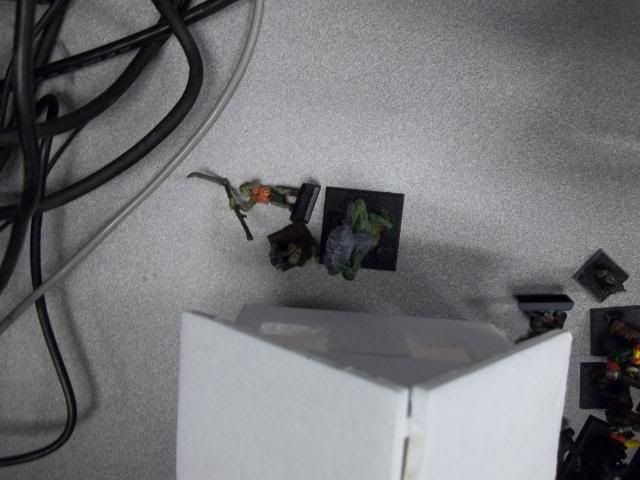
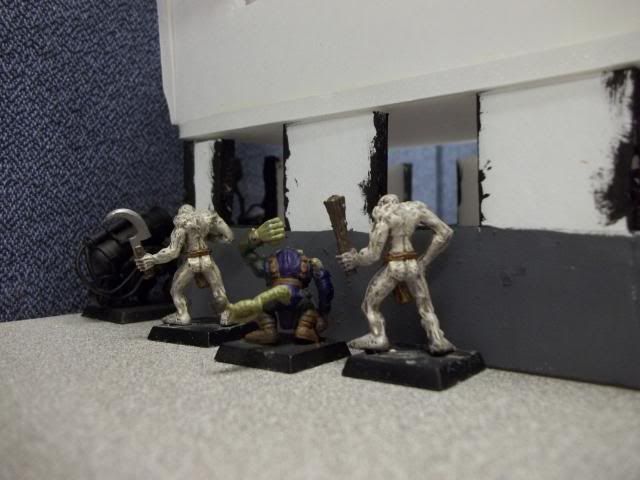
Not sure why I took this picture.
Photobucket

Game 2: Tom (WBR 152) vs LAZ (WBR 222)- Megan's revenge. As per tradition, we always let some one who is not playing set up the terrain. Megan took a bit of vengeance for my win in the last game. Very few places to hide, with long ranges of fire for Tom's crossbow thunderers.
Wyrdstone Hunt.
Tom Win
LAZ 3 wyrdstone
Tom 1 wyrdstone

The Quick Score Sheet:
1. Who Killed Who:

BS 1 wyrdstone
Pierced Tail falls OoA
Sorceror 1 wyrdstone
White Beard 1 wyrdstone
x Thunderer OoA Mohawk
x Thunderer 1 wyrdstone
Orange Hair OoA BS 2


2. Injury Results

Tom:
White Beard: 45- full recovery

LAZ:
Pierced Tail: 24 Madness 5 Frenzy
Mohawk: 63 Hardened Immune to Fear
BS 2- 45 Full Recovery


3. XP gained:

Tom:
Engineer: 3 (30- skill- trick shooter)
Orange Hair: 3 (25- skill Strike To Injure)
White Hair 2 (28- skill Strike To Injure)
Beardling: 2 (14- final roll 8- +1 Attack)
Hand Gun Thunderer: 2 (13)
X Bow Thunderer: 2 (11)

LAZ:
Sorceror: 2 (24- 6=+1 str)
BS 1: 2 (24- 7= +1 BS)
BS 2: 1 (25)
Mohawk: 2 (10)
Pierced Tail: 1 (7)
Bell Ringer: 2 (14 skill)
Kin w Clubs: 1 (12)
Kin with Spears: 1 (7)
Kin with Swords: 1 (3)

4. Exploration results

Tom: 2 for surviving heroes, 1 for winning)
356=4 shards

LAZ: 3 for surviving heroes,
445= 13, 3 shards straggler, sold to slavers for 5 GC

5. Recruiting

Tom
XP pool: 9
exchanged 5 pieces for 90
thunder with xbow and 4 XP; 73
Beardling with axe: 30

LAZ:
XP Pool 9
Exchanged 5 pieces of wyrdstone for 70
Fired Pierced Tail.
Hired New Night Runner sling= 22
Verminkin with Spear, Sling, and 7 XP= 41
4slings =8

6. New standings.

Tom: For some reason Tom can't bother to give me his new standing. Another reason I hate playing against dwarves.
LAZ: 246

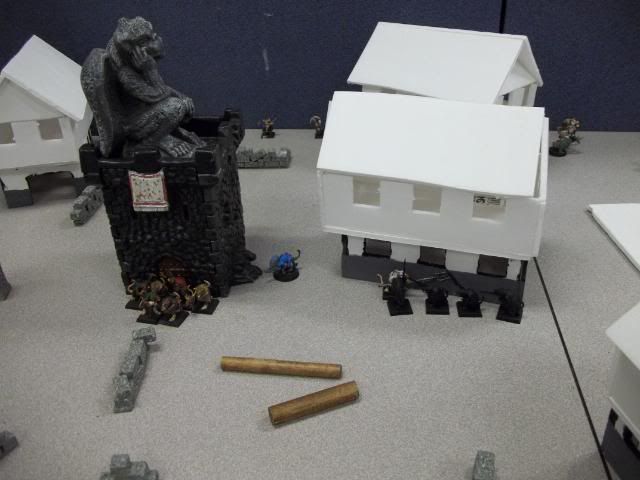
My frenzied Nightrunner is the only member of my warband to get any licks in.
Photobucket

Hiding behind the only thing I can. To rush out would have killed more then I could reasonably afford at that time.
Photobucket

Game 3
Megan (214) vs. Jim (179)
Street Fight- this is one of my favorite scenarios, and it so rarely comes up. We didn't finish this game, but I have enough pics that we should be able to set it up again quickly.

The Quick Score Sheet:
1. Who Killed Who:
Orc Boy kills goblin in animosity
Dire Wolf kills goblin
Goblin takes out zombie
Goblin takes out dire wolf
Big Un #1 takes out dire wolf
Vampire out goblin
Ghoul OoA orc boy

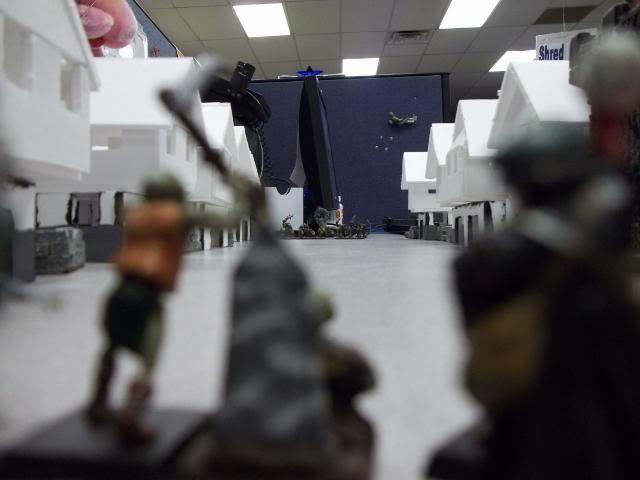
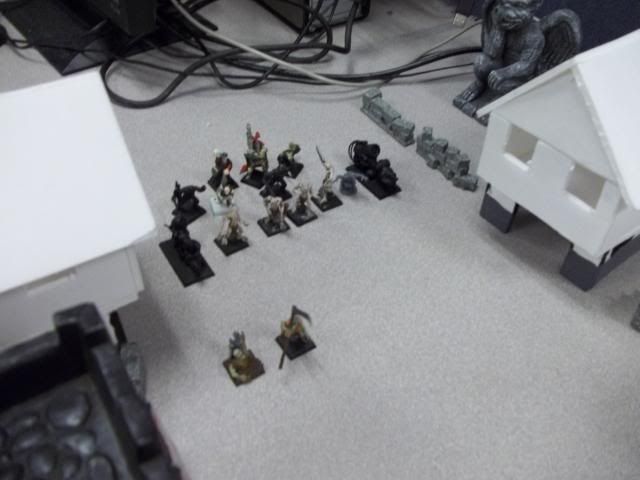
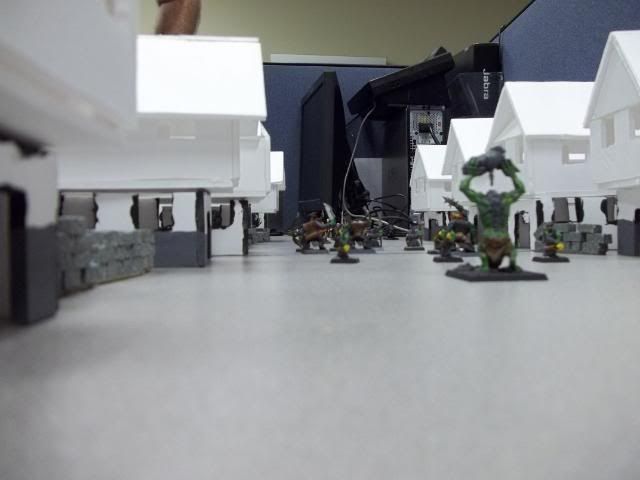
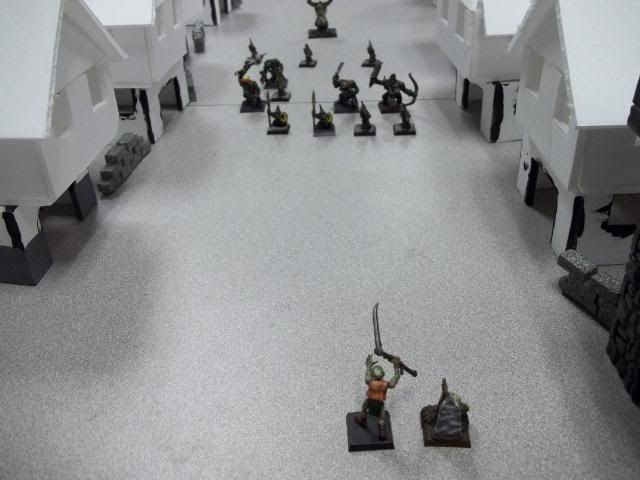
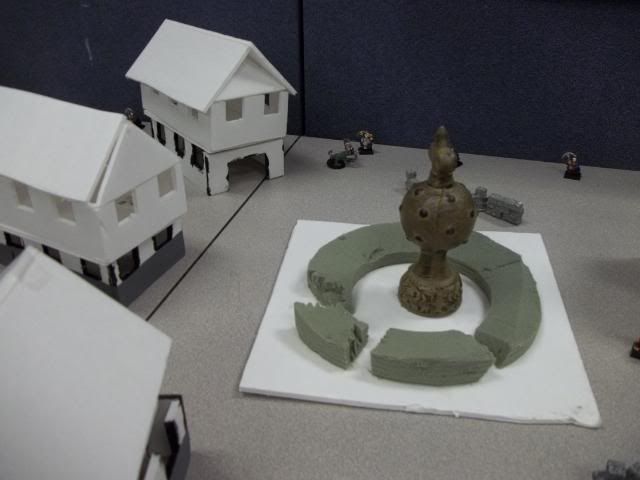
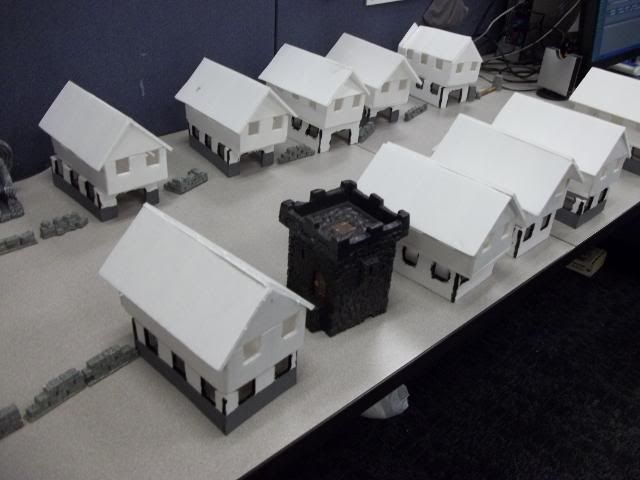
Long Roads.
Photobucket

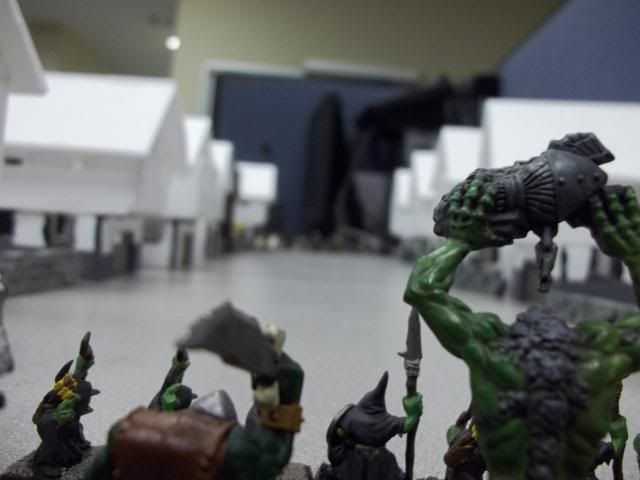
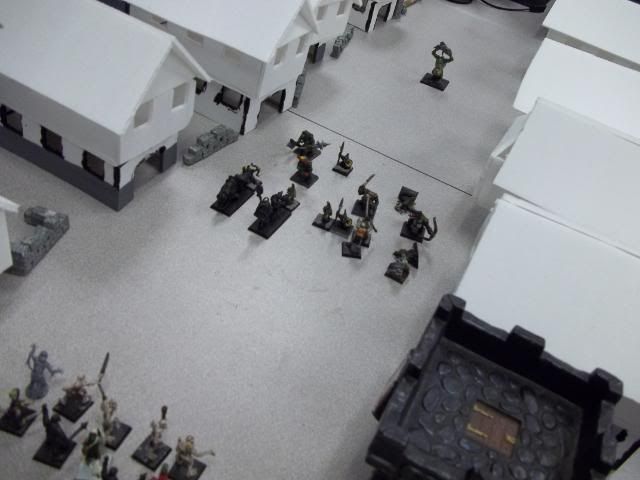
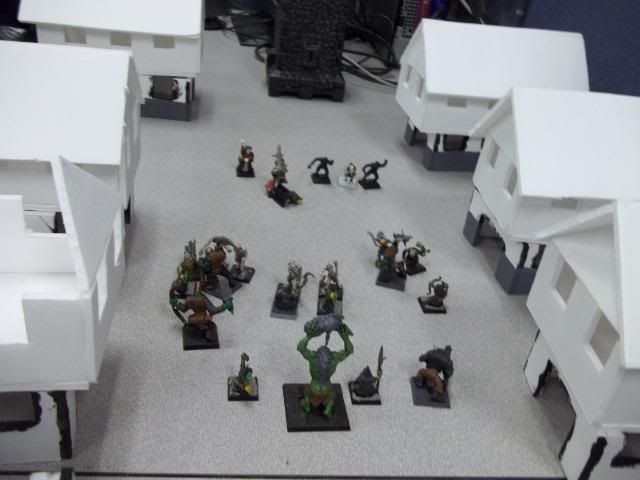
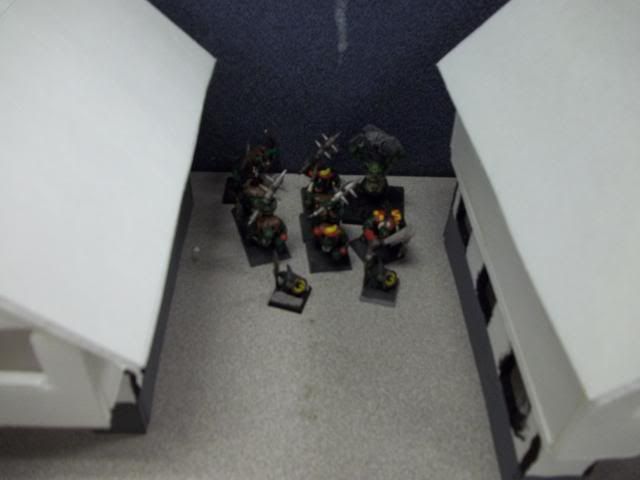
From the Orcs Point of View.
Photobucket

From the Undead Point of View.
Photobucket

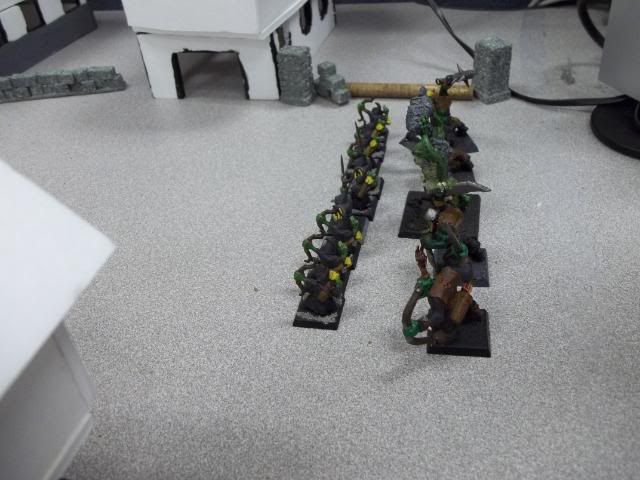
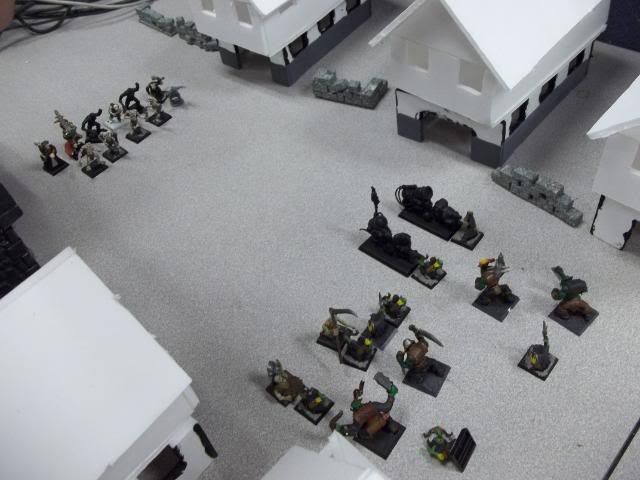
The Orcs line up.
Photobucket

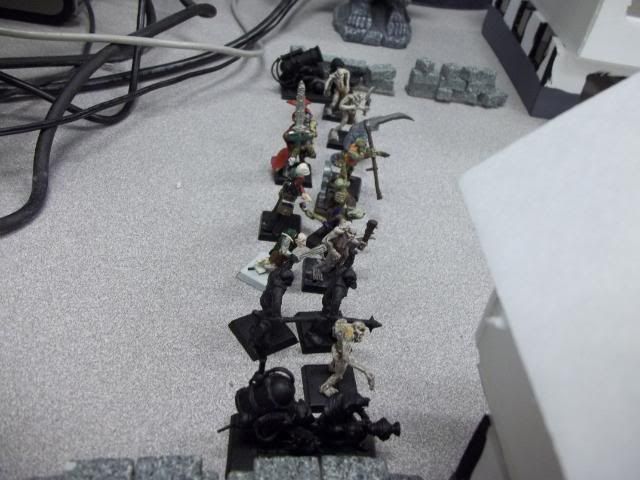
The Undead line up.
Photobucket

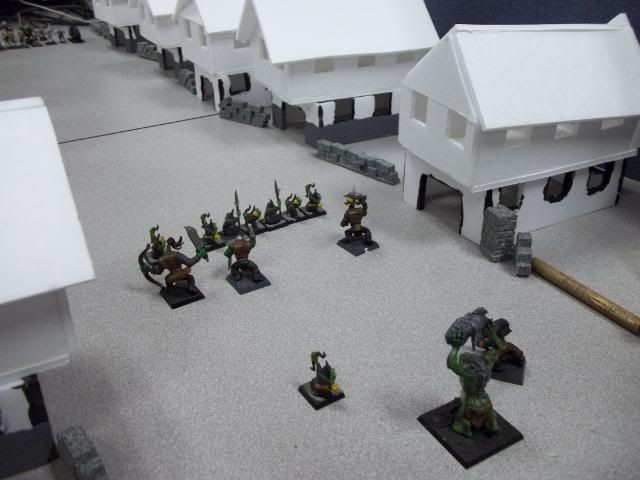
Turn one movement.
Photobucket

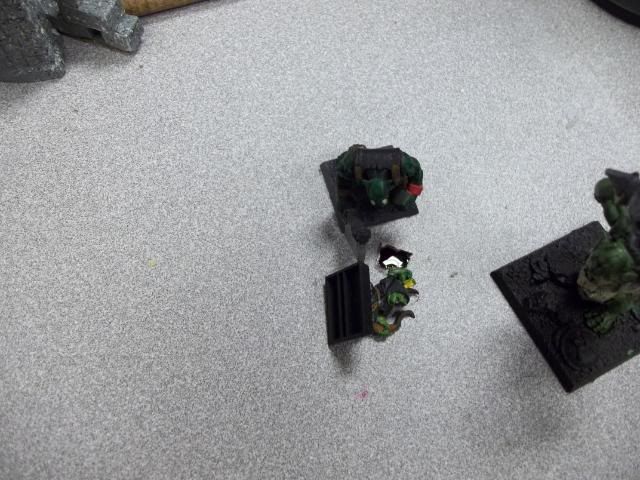
Megan tried to get artsy with a bit of ink showing the animosity that happened. Ten years of painting at my desk, and I never got a stain on my desk. One drop of red ink, and my desk is permanently marred.
Photobucket

Undead moving forward.
Photobucket

Another fun shot.
Photobucket

More movement.
Photobucket

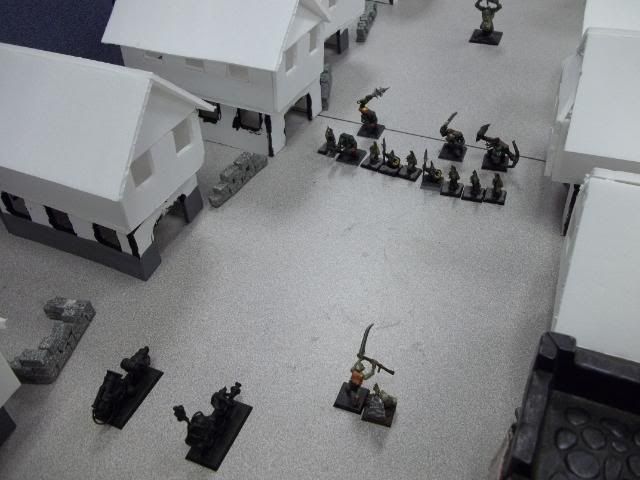
And finally the Orcs move back into line.
Photobucket

Finally combat is joined.
Photobucket
Photobucket
Photobucket

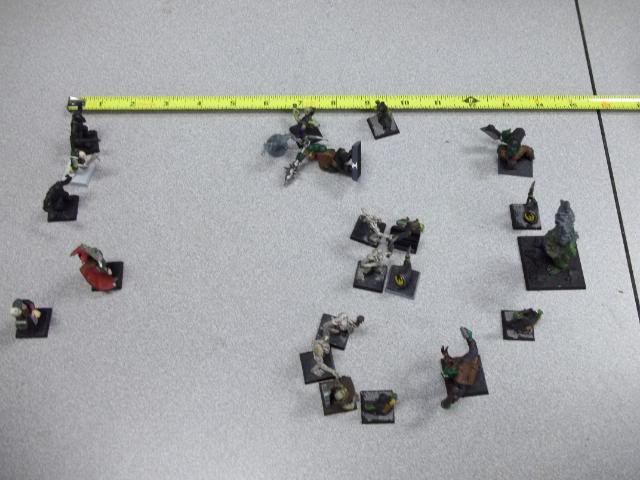
Here's where we had to end, but with this shot, we should be able to set up and get things done easily.
Photobucket


Monday, August 29, 2011

Monday Night Mordheim: Map Campaigns Simple Vs. Complex

Monday Night Mordheim; Map Campaigns, Part; I lost Track...Simple Vs. Complex.

Now, I want to talk a bit more about Map Campaigns, and I think that I'll have one more article on the subject before I move onto something that interests me a bit more. I want to talk about the final bit that you need to decide on before actually starting a Map Campaign, and this is often the most important thing just like all of those other most important things I've already talked about.

Simple Map campaigns, are just that, simple. They do not emphasize anything besides one person attacking, another person defending. That is about as deep as it gets. Each turn each person gets an attack action to try to take a territory, and can defend as many times as they are attacked. Some people make a rule about only one defense action round, that way no one gets overly powerful as the campaign goes on, since every game results in gaining experience.

Complex Map Campaigns are well, complex. Boy, I'm just a grand stater of the obvious tonight, aren't I? Well, here's the thing, and many of the reasons that people really like Map Campaigns are because of Complex Map Campaigns. Complex Map Campaigns are difficult and requires a TON of book keeping.

Complex campaigns are the ones that take after those RTS video games. There are resources management, plotting and planning, and difficult. This is where Mordheim and campaigns aren't really designed to work together. Mordheim is designed to be a simple campaign structure for ease of play. While many games like 40K, are primarily points buy base, and you can assign points to different areas, you really can't do that with Mordheim. I mean, you can, but you put yourself in dire straits with other warbands. I will address the specifics on creating some special rules for Mordheim complex map games in my next installment (told you I would have one more!). Before I get into more specifics, I want to cover some of the basics that seem to apply to all Complex map games.

*Each unit (or warband) can move one territory per turn, regardless of what type of unit it is.
*Each player has one attack option per turn (ie, a move into an opponent's territory).
*Different territories provide additional points/Gold Crowns, at different values for helping purchase units.
*Defenses can be built up in territories to help defend them.
*Special Territories take on special significance in terms of building units, or even moving units.

Well, um, that's about it for now. However, I really want to mention a really great article that my friend Reepy wrote. Two Players Big CAMPAIGN. He wrote it for 40K, but I think that a lot of the information in it is very helpful to starting a New Complex Campaign.

Sunday, August 28, 2011

Footnotes on Cobblestones; So Tired

Yes, I did do some campaigning yesterday. Yes, I have the results. No, I'm not going to post them until later this week, too bad, so sad. I am dead tired. Too tired to do any editing. Maybe I'll get some painting done. Doubt it.

However, I do want to do something a bit off the normal topic. I wanna talk about dice. I like dice. Looking at our game group, I realized something. Each person was playing with two dice, since unlike 40K, that's all you really need. Two dice of different colors, and only really need a different color for the d66 roll for injury results.

Now, I think it is interesting how it broke down though, and I can tell you why my fellow campaigners have the dice they have.

ME: 2 Pearl Pipped d6, 1 Grey Pipped d6, and both of them have the 6 replaced by some sort of cat head. I got them as part of a pound of dice I bought awhile back, and they are pretty unique.
Megan: 1 Purple Pearly Numeral d6, 1 Red Numeral d6. She got the purple one with the D&D dice she bought when we first starting playing D&D, and the red one was part of a Christmas gift of D&D from me.
Jim: 1 White Pipped d6, 1 Red Pipped d6. Jim has been playing RPGs forever, and probably got those dice from some board game he raided in 9th grade.
Tom: 1 White Numeral d6, 1 Red Numeral d6. The white die comes from a set I picked up for Tom when we starting playing D&D, and the red was (again) from a christmas gift from me.

I find it interesting. So while Jim and I eschew the Christmas gift dice, both Tom and Megan use them a lot, which makes since because those are they dice they own (although Megan has a die cube of the same purple pearl that she bought by accident). What I find the most interesting though is that both Jim and I use pipped dice instead of numeral. I guess I use them from shear bloodymindedness. I'm much better at visualizing the maths for adding up dice with pips because of years of wizard Fireballs and Star Wars d6.

So how about you guys? Pips or Numerals?

Thursday, August 25, 2011

What is $4?

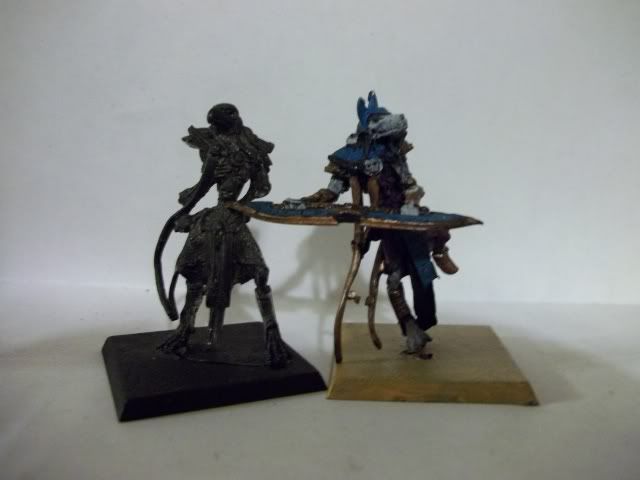
THIS IS!

Photobucket

Between the two of them, I got ONE Ushabti. Gotta strip them, clean them, and then I can repaint them. Whoever painted these did not do themselves any favors. There's flash and mold lines, and bad glue jobs. Probably going to have to pin them together and do some gap filler. I think that they would do well as Ogre Hired Swords for an Undead warband. For $4, this is well worth some effort. Keep an eye on this space

Monday, August 22, 2011

Monday Night Mordheim; Map Campaigns; Territory

Monday Night Mordheim; Map Campaigns; Territory

It would seem that I have an over affection for the semi-colon, doesn't it? It just flows off the keyboard much easier then its cousin the colon. I have to SHIFT+; to do it. Just seems to not be worth it for a worthless piece of punctuation. Anyways, back to the action.

Last week I talked a bit about the initial set up sort of stuff. Special benefits, and victory conditions. Now I want to get into the things that make a Map Campaign a Map Campaign- Territories.

There are really two main things to think about when deciding territories, and they both have to do with numbers. The number of territories can make or break a Map Campaign. Too many territories and the campaign gets bogged down and people get frustrated and bored, too few and the campaign ends all to quickly. The other problem is empty territory not held by anyone.

So let me talk this out a bit, because this is not an easy thing to quantify or put down coherently. The first thing that you have to think about is how many territories you want to have, and the other part is how many territories that people start with.

The first part of it is how many territories that you want to have. This where things can get bogged down. There's no real good idea on how to figure out how many territories that you start with. So here are my favorite ways to figure out how to do it.
*The 52 Pick Up; This is a seemingly random amount, but it is the number of playing cards in a deck. I'll get more into this one in a bit. It is best for a non-total domination victory.
*Rounds Method; This is a pretty simple one. Figure out how many rounds you want to play and divide in half. This is a good method if you want to do a total domination victory. It makes for a very quick campaign.
*Times Five: Take the number of players that you have and multiply by five. This can make for a very dense game between a few people, or a very long game with a lot of players.
*District: This is a method where you take a real map, and divvy it up into territories. There are multiple Mordheim maps out there, and then there's always real city maps. However, for a really interesting game, you might want to try and get the Gotham City map. Depending on the map, you can make almost anything out of it.

The second important thing to remember is how many territories to start with. There are two broad categories, what I call the Risk Method and the empty streets method. The Risk Method is named after that old board game chestnut, and all the territories are divvied out before the game starts. The empty streets method is where only a few territories are parceled out before the game starts and then there are empty territories. Now, let me get a bit more into specifics.
*Plus One: In a plus one game, each person starts with one territory for each player in the game, plus one. In other words X+1, where X is the number of players. This is great because no-one can get wiped off the map after the first turn.
*Turns: Each person takes a turn picking out a territory until all are gone. This is a great one, because it makes for some great meta-game tactics.
*52 Pick Up: This one is great for the 52 territories. You assign each territory a playing card value. Then you can deal cards to each person until reaching the agreed starting number of territories or all the territories are passed out. This is an awesome one since it adds a bit of chaos and unpredictability to the proceedings.
*Roll For it: Great for people who are obsessive about dicing. Each player rolls a die, and who ever rolls highest gets the territory.
*All 4 One: Each player starts with four territories placed however they want it. Regardless how many territories there are.

Well, that's about it for now. So far we've talked about the victory conditions, special stuff, number of territories, and how to parcel out territories. Each one of these could evolve into a long winded debate, and I'll probably get around to them at some point or another, but next week, I'm going to go into the two different types of ways to actually run a campaign.

Saturday, August 20, 2011

Saturday Campaign Update: R3S1- Draws?

Hmmm. Lemme post something, and then I'll talk a bit.


The Quick Score Sheet:

Tom Vs. Jim: Surprise Attack:


1. Who Killed Who:

Super Ghoul curb stomp Orange Hair Trollslayer
Dwarf Engineer shoots OoA zombie
Beardling OoA necromancer
Super Ghoul OoA hero thunderer
Vampire OoA thunderer

And.....


That's it. That's ALL we had time for today. A bit of background. We play at work. Clear off a couple desks and go at it. I'm sure you can tell from the pics that I've posted in the past. However, that means we have a very strict time limit. Start of shift until end of shift. We were busier at work then expected today. So we were left with a dilemma, what to do? Neither warband was ready for a rout, and neither guy really wanted to end the game, either. However, we HAD to clean up and get out. None of the 'We lost track of time' stuff can work, since the place shuts down as we leave (or at least our section).

We finished off the round, and while Tom was on the point of needing to take a rout check, it would not have happened until the next round. Jim, on the other hand was SLIGHTLY more healthy. It was a particularly hard fought game, and while the numbers don't seem to bare (bear?) that out, it was a great match. I seem to say that alot about Tom's matches, and for good reason. He loses, but he does so with dignity and keeps trying. Dwarves were a good idea for him, he doesn't give up halfway through.

However, that leaves the point, where do we go in the campaign from here? I've thought of a couple of options.
1. Both people roll for rout, and if one fails, they lose.
2. Declare a draw. Which brings up its own set of questions.

Now, what we actually did, and I might take back, since it was done under duress, is the first option. Jim rolled an 11, so technically he lost. I don't particularly like that, since the game was still at a point where it could have gone either way. We have a definitive loser, and Tom doesn't win nearly enough. So Tom would get the extra die during the exploration phase. My main beef about it is that the game was still playing, but there was no way that we could have re-set up next week, since like a dumb ass, I stayed up late playing Civ IV, and rushed out the door without my camera. Also, like I said, we had to clear out and clean up before end of shift.

Declaring a draw, though, that might be more to my liking. It would mean that Tom still would have a 1 in the 'W' column, but a draw isn't so bad. The problem with it though is that there isn't really anything for it in the rules. So what it boils down to is if to treat it as both people winning and both getting the extra die for exploration, or treating them as both losing and neither getting the extra die. The additional problem though, is what to do about the campaign record. How does one count a draw? As half a win, or not at all? For Tom, its not going to make a huge difference, since the difference between 1 win and 1.5 isn't that big of a deal. For Jim, on the other hand, it is a different story, A difference of 1/2 a point could be the difference between second or third place. Since we will be winding down the campaign after this round, it makes a big difference. Or should we just go by straight wins and draws being the tie breaker?

Ah, so much to think about until Monday when work starts back up and we can sit and talk about it like 'Rational Adults'. Pshaw, someone is going to slug someone, and I really don't want that person to be me!

Monday, August 15, 2011

Monday Night Mordheim; Map Campaign Startings

Map Campaigns, Starting Thoughts

I've been gathering information about map campaigns for some time now, as those of you who follow this column will know. There's a lot to think about and a lot of things to gather about it. What I want to talk about you for the start up portion.

The first thing that you want to think about is the victory conditions. A map campaign has the potential to last literally forever. That is why it is even more important to set victory conditions from the start then it is in a regular campaign. The victory conditions can vary as much as how your group is. The thing that is important about the victory conditions is that they will help set the length of the campaign. The more difficult the victory conditions, the longer the campaign will last. The problem with that is a long campaign can get causalities, and not the fun 'I killed your Necromancer!' type, but the unfun 'Wow, Jim, so you're moving to Antarctica? Sure, I know it is a once in a lifetime trip to study Leopard Seals, but WHAT ABOUT THE CAMPAIGN!?!'. So you might want to take the one or more of the following victory conditions list;
*A time limit. The good thing about this is you can close it off at a certain time, and then count up map territories and then decide who wins. This is a great condition, because it can keep casual players in a bit longer, hoping for that one last surge of wins.
*Percentage of the Territories: Important to note this is NOT the complete take over of all the territories. That's a different condition. This one is generally something like 50% or 75% of the total number of players. However, it can be discouraging to those who are NOT winning.
*Full Decimation: This is the one where it is winner takes all. Depending on how much territory you have, this can be the longest of all campaigns. I'm not a fan, and it is a discouraging thing. Lots of people get knocked out or just plan old bored when it comes up to round 26.
*Capture Keys: Many map campaigns include a few 'special' or 'key' areas. With this victory condition, you see a lot of action, since capturing all the 'key' territories can mean a sudden win. This is probably the most volatile of all campaigns, because it means that someone can come in and prevent a total victory with a single well place win.
*Set Victories: Someone is declared the winner after X amount of wins. Doesn't matter what the what else is going on, if you win that amount of victories, you win the whole enchilada.

So while victory conditions are the most important thing, the second most important thing in my mind is the special stuff. I love special stuff. It makes a map campaign so much more fun. Now, in different games, these can be a lot of different things. That's what makes different games different. Er. That sounded stupid. Allow me to elaborate. In 40K being allowed to take an extra 200 points over your opponent means something, but in Mordheim it is almost impossible to do the same thing, since you are growing a warband. That's the simple bit, making stuff appropriate to your campaign. The hard part is that the special stuff comes in two parts. The first part is the different conditions of getting something special, and the second part is what to get.

Party of the First Part; Conditions. There are two main ways to get benefits of special conditions.
*Special Territories: These are individual territories that convey some sort of benefit.
*Number of Territories Taken: After a certain number of territories are taken, then someone gains a benefit.

Party of the Second Part; Benefits. There are actually a lot of different things that make the benefits worth something, but they all fall into some broad categories.
*Deployment Benefits: Deployment benefits can range from choice of who sets up first, to special deployment conditions, to even choice of scenarios.
*Extra Forces: Extra forces benefits are great. They allow you to break the normal rules of how many people that you are allow to place on the field and smash them to bits.
*Free Stuff: Free Stuff benefits allow you to take something without cost that you would normally include as part of your cost per game.
*Terrain Benefits: This is by far the most crazy stuff. Terrain benefits are typically tied to a single territory, and typically some sort of unique terrain feature like fortresses, or extra towers, or something like that.

So I've gone over some of the opening stuff to think about, and right now I need to customize it a bit with some of the stuff I thought of for a Mordheim based map campaign.

Special Areas Ideas:
1. Brewery: Bugman's is common.
2. Mercanaries Quarters: 1/2 upkeep on hired swords (except Ogres, Warlocks, and Pitfighters)
3. Slaughter House District: No upkeep for Ogres or Trolls
4. The Gladitorial Pit: Free Pit fighter, no upkeep, but does not gain XP! Can still hire pit fighter as normal.
5. Well Spring: +1 to casting checks for wizards, etc.
6. Powder Magazine: +2 on rare rolls for blackpowder weapons
7. Wharf: Warband counts as three less members for wyrdstone exchange.
8. Assayers Office: +1 die on exploration roll
9. The Tower: There is a HUGE (like 2 foot tall) tower in the middle of the territory, that the defender can ALWAYS set three models in before the game starts.

Bonuses:
+1 to rare roll for every 5 contigious territories.
+1 to maximum warband number for every 10 territories you hold
+1 to maximum heroes in warband for every 20 territories you hold.

Monday, August 8, 2011

Monday Night Mordheim; The Little Things

Monday Night Mordheim; The Little Things

Well, I just keep plugging away at Map Campaigns. There's a good deal to them. So that will STILL be a while.

Right now, though I want to talk about two things that talk about that make a big difference in Mordheim, but not a whit in any other game. Elevation and Hiding.

Elevation;
Elevation in other games means getting more shots, or a pick of shots, but at the end of the day it doesn't make a whit of difference. In Mordheim though, its different. It's all that and more. The first thing that it does is allow you to pick your ranged shots, not just the closest guy. That's pretty much standard across most of the systems I've played. However, there is another major advantage. The high ground is actually important in Mordheim. The thing is that in MOST circumstances you have to climb up to get to someone who is elevated. This is a critical difference, because you cannot charge into combat as part of a climb! That means your model is elevated, he will get the charge after someone climbs up to get him. The first person to go can often make a huge difference on survival. So two reasons; 1. Pick your shots, and 2. Avoid charges.

Hiding;
Ah, hiding is one of my favorite things about Mordheim. No other game really has a built in function like it. I forgot about it for years, actually. However, that said, hiding is not easy. To start hiding you have to be where you cannot be seen. Then you can remain hiding, as long as you are in cover...even if you move. There is a great reason to use it though, you can't get shot, and many times you can't be charged. Most models cannot see a hidden model until they are within initiative rank in inches away from the model. In most cases that's three inches. There are skills and equipment that changes that, but for the most part, it is well within your charge range. So again two reasons; 1. You can't get shot, and 2. You enhance the chance to get the charge.

If you notice, both of these have the same second benefit. You enhance the chance that you get the charge. That small tidbit cannot be overstated, it can make all the difference in the world. The chance to go first is a huge advantage. If you strike first you might not have to endure a return of strikes.

So tonight's tidbit was just that, a tidbit, but a smaller look into the depth of Mordheim, something that I hope to get more into later....if I ever get that massive map campaign thing off the ground.

Saturday, August 6, 2011

Saturday Campaign Update: R2S4

Well, another week has passed, and this time I did some photos. However, this was a big messy Chaos on the Streets session. It was chaotic...and hard to follow. Now, I probably mention this way too often, and when I don't, its probably pretty obvious from the pics, but we play at work. We clear off an area (and we switched areas we clear off, so there's more space now), and set up some cheap terrain that I keep under an unused desk. Now, some people want me to put some more effort into the terrain. However, given that if it is found, it may be destroyed, I don't want to sink too much money into it. Well, time really, since I spent a grand total of $10 into all of it. For the price, I think it looks pretty acceptable. Not great, but acceptable. Wow, really rambling there, and missing my point. Since we play at work, sometimes things come up...like actually working. So my notes aren't exactly the best. I think that sometimes that I get more out of typing this up then anyone else possibly could. I like to look over things and re-run things. See what went right and what went wrong.

R2S4

Chaos on the Streets:

LAZ (Skaven WBR 174)
vs.
Megan (Orcs and Goblins WBR 203)
vs.
Tom (Dwarfs WBR 139)
vs.
Jim (Undead WBR X)
Street Brawl

End Results:
Megan voluntarily routs
Tom fails Rout Check
Jim voluntarily routs


The Quick Score Sheet:

1. Who Killed Who:

Goblin Archer OoA Orange Hair Trollslayer with a Critical
Dire Wolf OoA orc boy
Hero Ghoul OoA orc boy
Orc Boy OoA ghoul
Troll OoA zombie
Dreg with Ball curbstomp orc boy
Vampire OoA Big 'Un II
Goblin Archer OoA beardling
Dire Wolf OoA Big Un I
Necromancer Stuns Orc Chieftain, Vampire Curbstomps


2. Injury Results

Megan:
Chieftain: 21 Multiple Injuries, 5 rolls, 25 Smashed Leg (miss next game), 64 Horrible Scars, 25 Smashed Leg (miss next game), 14 dead (ignore), 43 (full recovery-ignore)
Big Un 1: 52 full recovery
Big Un 2: 65 sold to the pits!: Loses, 26 chest wound -1T
Hench Men (3 Boys): 1 dead

Tom:
Orange Hair:45 Full recory
Beardling: 3 recovery
Jim:
Zombie: fine
Ghoul: dead

LAZ: No injuries!

3. XP gained:

Megan:
Chieftain: 1 (37)
Shaman: 1 (16)
Big Un 1: 1 (24- +1 Str)
Big Un 2: 1 (25)
Henchmen
Boys Group 1: 1 (6)
Boys Group 2: 1 (1)
Jim:
Vampire 3 (44)
Necromancer 1 (16)
Dreg (painted) 1 (9)
Dreg Ballless 1 (10)
Dreg Balled 2 (10)
Hero Ghoul: 2 (9- +1 iniative)
Henchmen
Ghoul Group 1 (8)

Tom:
Engineer: 1 (25)
White Hair: 1 (25)
Orange Hair: 1 (21)
Hero Thunderer: 1 (11; +1 attack)
Henchmen
Beardling: 1 (11)
Thunderer 1 (10)
Thunderer: 1 (2- +1 BS)

LAZ:
Sorceror: 2 (20) +1 BS
BS I: 1 (21)
BS II: 1 (23)
Pierced Tail: 1 (5)
Bell Ringer: 1 (10)
Henchmen:
Group A: 1 (10)
Group B: 1 (5): 11 TLGT reroll! +1 BS
Goup C: 1 (1)


4. Exploration results

Megan: 1 die from heroes not out of action
4: 1 Shard

Jim: 5 from heroes
1,2,3,4,5: 3 shards


Tom: 3 dice from heroes not out of action
6,5,2: 4 shards

LAZ: +1 Die for winning, 5 heroes not out of action.
134566: (5 shards) Ruined Hovels (6 GC)


5. Recruiting

Megan: 2 XP
Exchanges 1 shard for 25
Pays 15 upkeep on troll, and 15 for new twohanded weapon for Big Un.

Jim: 10 XP
Banks 1 Shard, gets 55 gold
Replace Lost Ghoul: 54

Tom: 8XP
Banks 1 Shard, gets 65 for others
1 Dwarf THunderer with Xbow and 2 XP: 69 cost

LAZ: 3XP
Exchanges 5 shards for 80 GC
32 GC for Verminkin with Sword and 1 XP x3


6. New standings.

Megan WBR: 206
Jim WBR: 182
Tom WBR: 154
LAZ WBR: 204


So onto the pics. I'm STILL trying to figure out how to get these things to display correctly.

Photobucket

Jim's initial setup:
Photobucket

Megan's initial Setup;
Photobucket
Photobucket
Photobucket

My initial Setup:
Photobucket


Tom's initial Setup;
Photobucket
Photobucket

Jim's Zombie Horde surges forward on turn 1. The rest of us pretty much chilled.
Photobucket

And the Waagh strives forward.
Photobucket

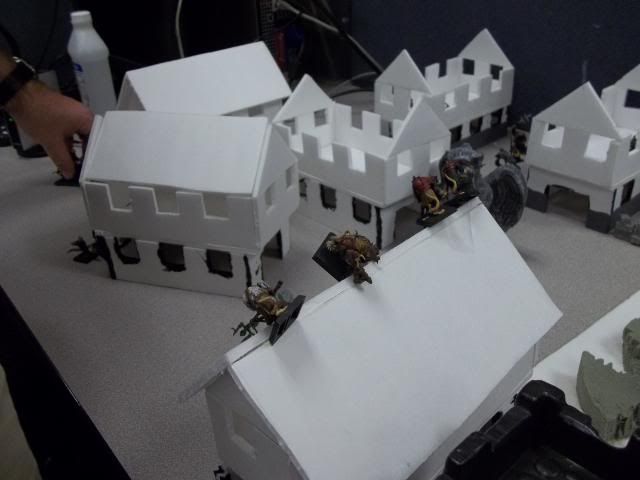
And I wish I had thought of this years ago. On the roof...with a piece of tape.
Photobucket

More jump over to the same roof, but don't bother with the tape, simple balancing works as well. Granted, I would never be able to do this with metal models.
Photobucket

Finally, the action starts, due to my subtle manipulation it is entirely possible that the dwarfs and the Skaven may have been allied and that we played the Orcs and the Undead were basically fighting each other while the underground dwellers waited for the rest to end.
Photobucket

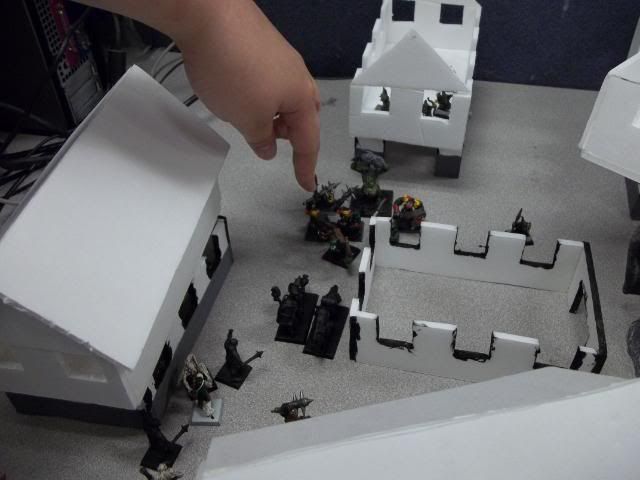
Megan points her finger at some Orc Boy during her animosity phase. It is odd, she seems to be about the only one who actually gets in the pics.
Photobucket

More Undead and Orc action.
Photobucket

And we finally start to see some REAL causalities.
Photobucket
Photobucket
Photobucket
Photobucket

And after the Orcs voluntarily rout, I climb to another rooftop to evade the eventual return of the Undead.
Photobucket

My grand view of the battlefield, awaiting for the Undead to show their faces and get sling shotted to death.
Photobucket

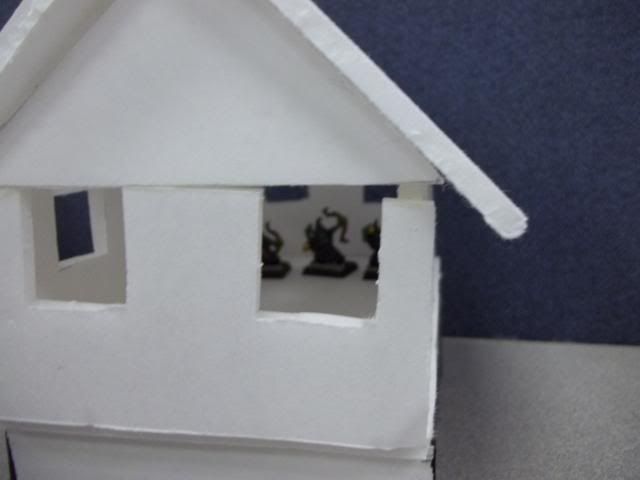
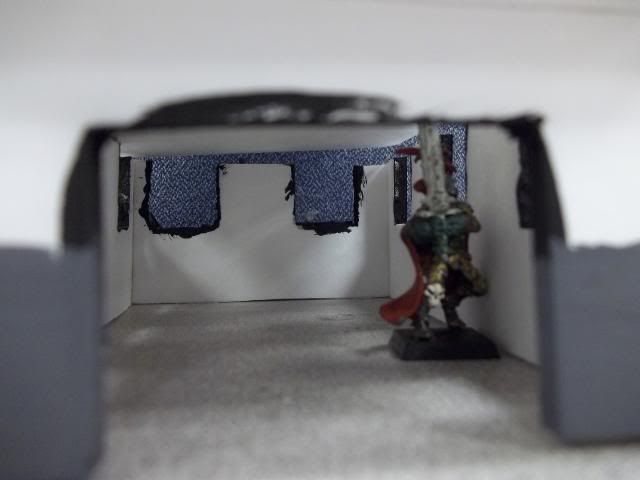
An arty shot of the Vampire in a house.
Photobucket

Ghouls surrounding the same house my lone verminkin is hiding on.
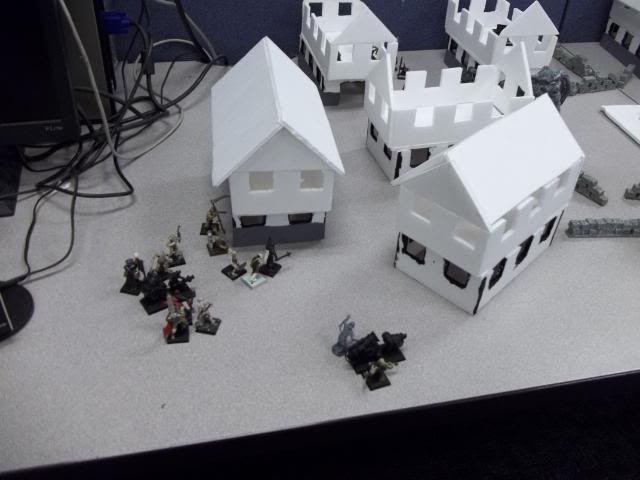
Photobucket

And some other people inside of houses.
Photobucket

The first line of defense, some GR (Giant Rats, really got to get some models of those) and a troll slayer.
Photobucket